English
 Português
 Español
 عربى
Understanding Why a Rear Wiper Arm Becomes Stuck
The rear wiper arm sits outdoors for the life of the vehicle. Dirt, road film and moisture collect around the base where the arm meets the drive shaft. That debris holds water against metal and encourages corrosion between the arm bore and the shaft splines or taper. Over long periods the joint can seize so that normal hand pressure will not lift the arm clear.
Weather cycling—wet roads, drying sun, winter splash—tightens the problem. Previous installation with excessive clamp force or missing anti-seize can also lock the joint. Identifying whether the issue is mainly corrosion, overtightening or damaged splines helps choose between gentle rocking, more lubricant time or a proper puller. Guessing and levering against the glass is how rear screens get damaged.
Preparing the Vehicle and Workspace Before Any Pulling
Park on stable ground and switch the rear wipe function fully off so the motor cannot move the shaft during work. Locate the arm base at the rear glass and find the protective cap that usually hides the mounting nut. Hand tools needed typically include a socket or spanner that fits the nut, gloves and a plastic trim tool for the cap. A dedicated arm puller should be available if the joint is known to be stubborn.
When corrosion is likely, apply a suitable penetrating lubricant around the joint where the arm meets the shaft and give it time to migrate into the contact faces. Rushing straight to force after a dry attempt often bends the arm. Preparation is slower than a failed yank and far kinder to the glass and paint.
Removing the Protective Cover and the Mounting Nut
Lift or prise the protective cap carefully with a plastic tool so that surrounding trim and paint are not scored. With the nut exposed, fit the correct tool and loosen it in a controlled way. The nut should come free without impact tools that shock the shaft or the glass-mounted motor assembly. Keep the nut and any washers together so reassembly or replacement is not delayed by lost parts.
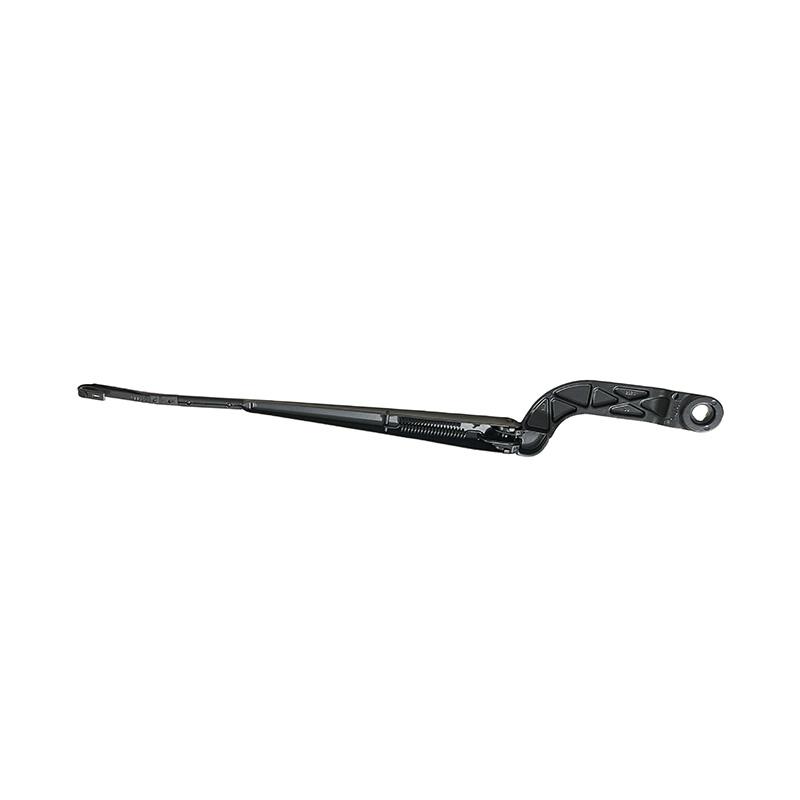
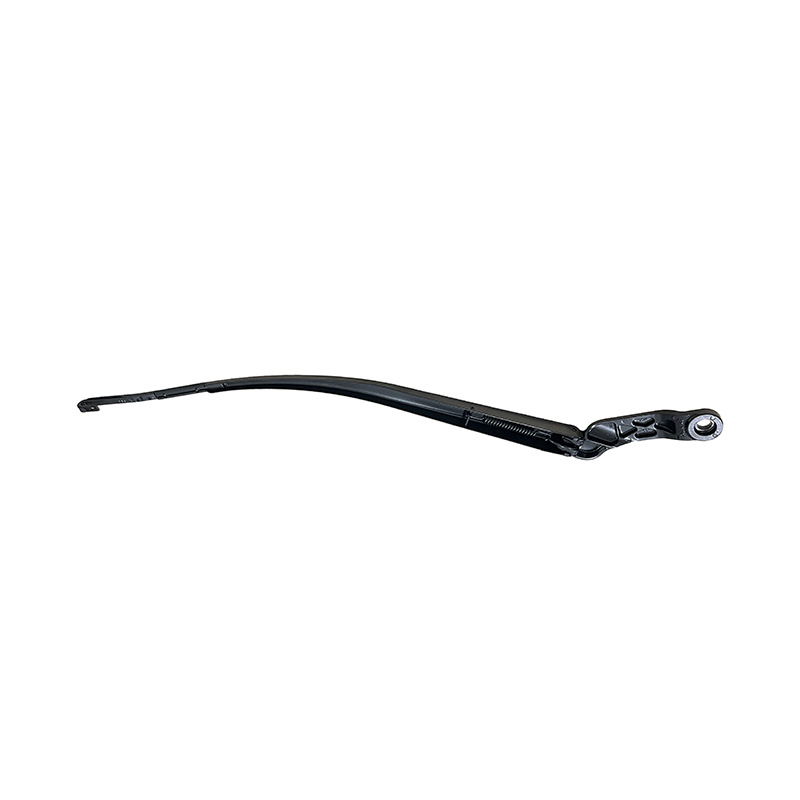
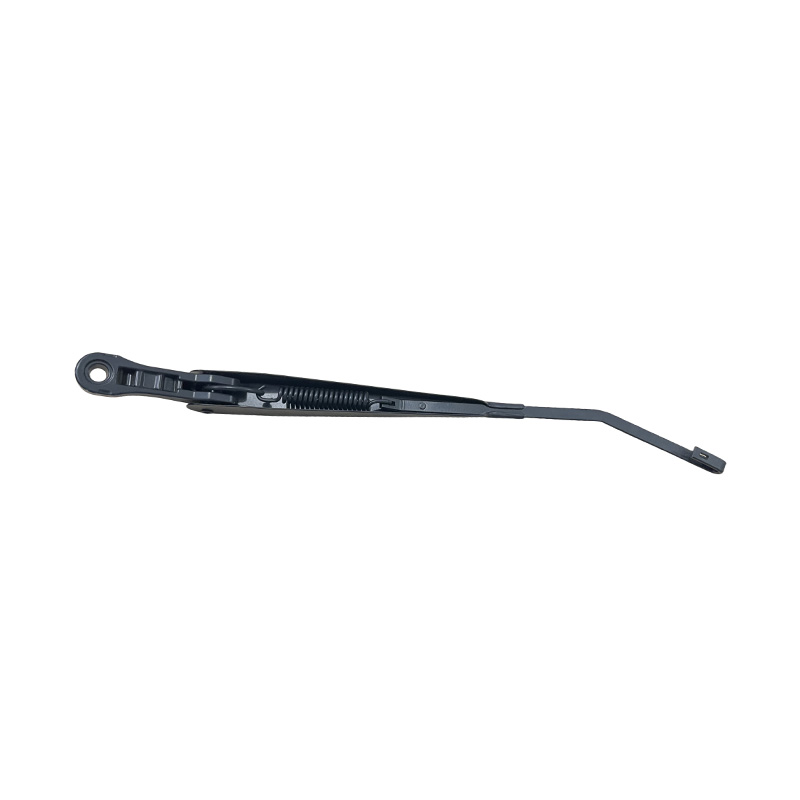
Once the nut is off, inspect the exposed shaft for rust scale, rounded splines or dried compound. Visible corrosion confirms why the arm is stuck and shows whether cleaning alone will allow a new arm to seat. A Car Rear Wiper Arm that has been forced off a damaged shaft may need both arm and attention to the drive end before the rear wipe works smoothly again.
Loosening an Arm That Remains Tight on the Shaft
With the nut removed, support the arm near its base and apply gentle rocking along the natural arc of the wipe—small movements, not wide swings that load the motor gearbox. Controlled upward pressure at the base, close to the shaft, helps break the bond. Pulling at the blade end multiplies leverage on thin arm metal and risks permanent bend.
If movement is still nil, add penetrating lubricant again and wait. Aggressive twisting or prying off the glass surface can chip the rear window or crack the ceramic print around the shaft. Patience at this stage is a practical safety measure, not optional ceremony. When the arm begins to move, keep the lift square so it slides up the shaft rather than tilting and binding harder.
Using a Wiper Arm Puller When Hand Methods Are Not Enough
Some joints will not release without a puller designed for wiper arms. The tool bears on the shaft end and hooks or presses under the arm boss so that force stays axial. Position it so pressure is even and the screw or lever advances slowly. Alignment matters: a cocked puller can slip and strike the glass or chew the shaft threads.
Avoid improvised levers under the arm with metal bars resting on the glass. The rear window is not a pry surface. A correct puller reduces that risk when used with steady advance and with a protector on any contact near paint or glass. Stop if the shaft begins to turn inside the motor; that indicates a different fault needing workshop diagnosis rather than more pull.
Common Mistakes That Cause Extra Damage During Removal
Pulling on the blade or the outer arm instead of the base bends parts that then will not wipe flat. Sudden heavy force can rupture the arm stamping or round the shaft. Uncontrolled heat near plastic caps, painted spoilers or tempered glass creates its own failure modes and should not replace penetrating lubricant and time. Hard steel screwdrivers as pries scratch glass and coatings that then corrode further.
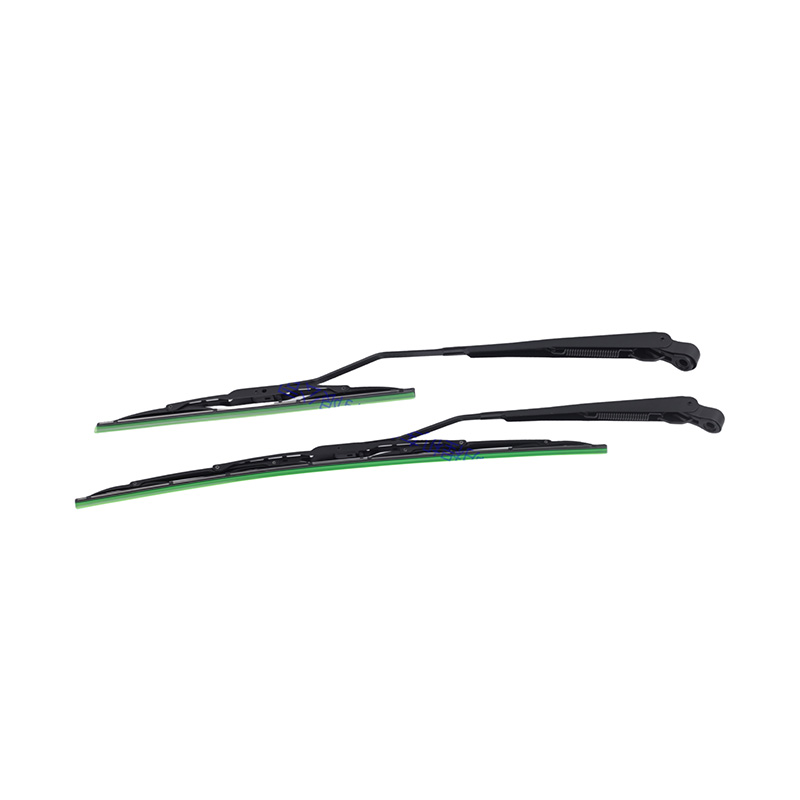
Protecting the glass and nearby bodywork with soft covers during tool use is simple insurance. Forgetting that protection turns a routine service job into cosmetic repair. Rear Window Wiper Kit replacements often arrive as matched parts; damaging the glass or motor housing during arm removal adds cost far beyond the kit itself.
Inspecting Arm and Shaft Before Fitting Replacement Parts
After removal, check the old arm for bend, cracks at the boss, worn blade attachment and corrosion inside the bore. Check the shaft for sharp, intact drive features and for rust that must be cleaned before a new arm seats fully. Clean contact surfaces so that the next installation does not seize in the same way. Decide whether the original arm is reusable or whether replacement is the safer path.
Any new arm must match the vehicle's shaft type, park position and length class so that the blade clears the glass correctly and parks where the system expects. A Rear Window Wiper Arm and Blade combination should be confirmed against the vehicle application before the nut is tightened. Light anti-seize on the shaft, used only as the vehicle or part maker allows, can ease future service; excess compound that contaminates the glass must be avoided.
Stuck-Arm Causes and Safer Removal Responses
| Situation | Likely cause | Safer approach |
|---|---|---|
| Arm will not lift after nut off | Corrosion or dry seizure at shaft | Penetrant, time, rock at base |
| Arm bends when pulled at blade | Force applied too far from boss | Lift only at base; use puller if needed |
| Tools mark glass or paint | Metal pry on finished surfaces | Plastic tools; puller; soft protection |
| Shaft spins when pulling | Internal drive or motor issue | Stop; professional diagnosis |
| New arm will not seat | Debris, wrong part, damaged splines | Clean; verify application; inspect shaft |
| Repeat seizure later | No clean-up; overtight nut; missing protection | Clean fit; correct torque practice; cap refitted |
Orderly Refit After a Successful Removal
Refit follows the reverse path: arm aligned to the parked wipe position, nut secured as specified for the vehicle, cap clicked home, and a functional wipe test on a wet glass. Uneven wipe or novel noise after refit warrants a second check of seating and blade condition before the vehicle returns to regular use.
Controlled Release, Tool Choice and Part Inspection
Removing a stuck rear wiper arm safely means understanding corrosion and debris at the shaft, preparing the vehicle and lubricant, removing the cap and nut carefully, releasing the arm with base-level force or a proper puller, avoiding glass-damaging shortcuts and inspecting both arm and shaft before installing matched replacements. Ruian Mingcheng Vehicle Parts Co., Ltd. produces rear wiper arms and related wiper components for automotive applications. Review of vehicle fitment, shaft condition and installation practice supports reliable rear wipe function after service.